
Studio baby, 1957
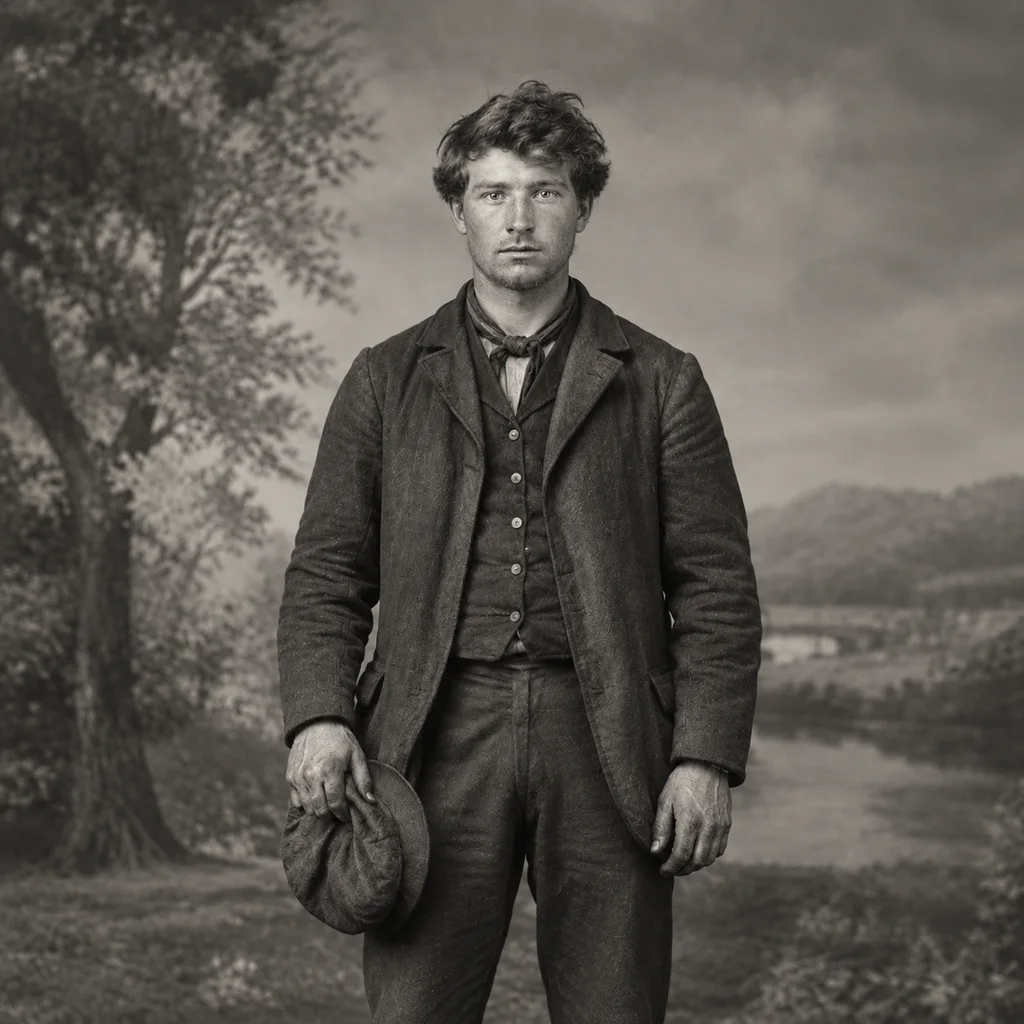
This photo was restored from a single upload using the Colorize mode. Drag the handle to compare the original with the result.
The rest of this page documents the process in full: what kind of photograph this is, the damage a conservator would recognise in it, exactly what the restoration pass was asked to do, and what actually changed between the two frames. Where something cannot be recovered, the page says so plainly.

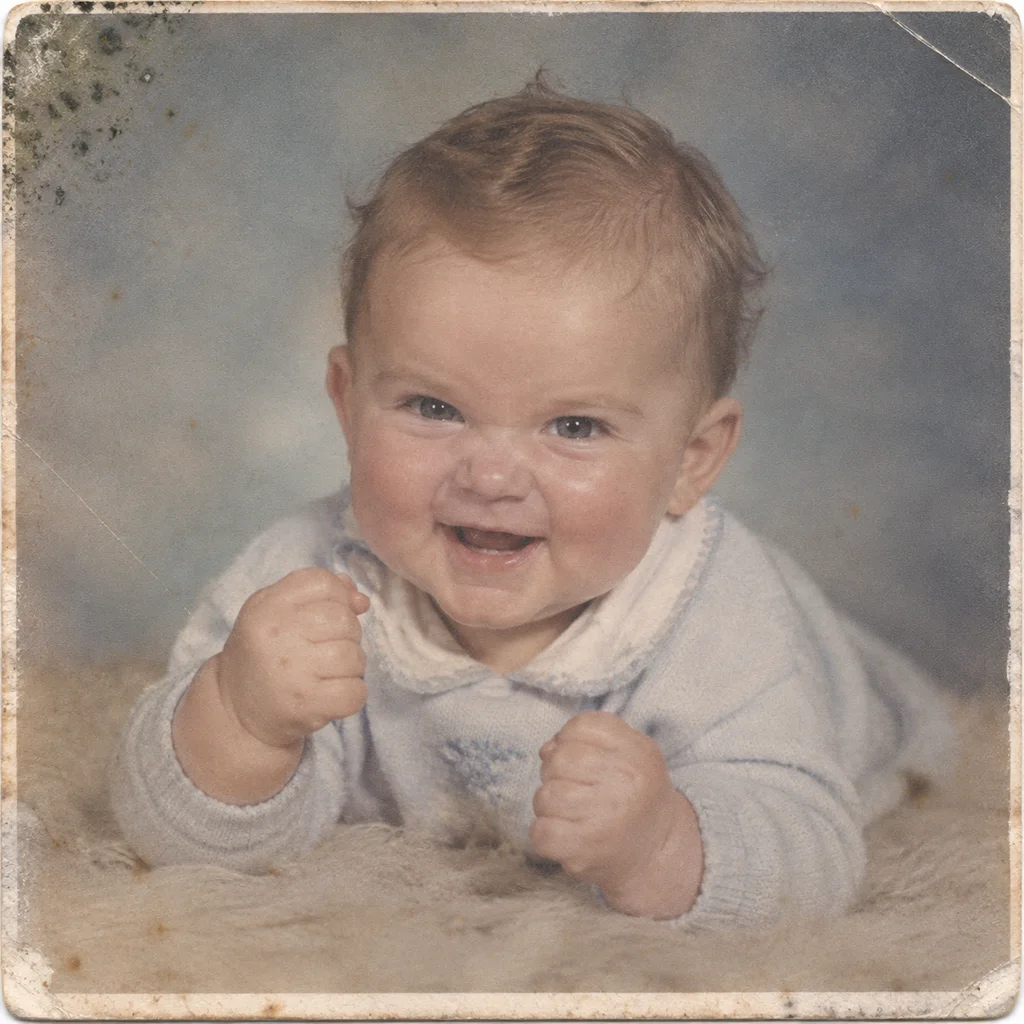 BeforeAfter
A portrait of an infant taken in a mid-century studio. The colourized half keeps the soft studio light of the original while suggesting period tone; the scan itself is unmodified.
The photograph
This page is the record of one photograph: Studio baby, 1957. Everything below — the era, the damage, the treatment — is read from the scan itself, not guessed from a template.
Baby portraits were a rite of passage for early-twentieth-century parents, and studios built an entire craft around them: warm props, patient sittings timed between cries, and retouching done by hand on the negative. The prints were treasured but usually small, and often the only professional photograph taken of a child in its first years. Because they lived in frames on bedroom walls, daylight did slow, steady work on them — faded highlights and yellowed paper are the norm among the examples that survive.
Dating a photograph starts with its process. Chromogenic colour papers of the 1950s and 1960s carry their image in three dye layers whose failure order is well documented, and the cast of this scan is exactly what that generation of prints produces as it ages.
Early colour prints from these decades used dyes that fade unevenly, which is why so many turn magenta or yellow. Restoration rebuilds the colour balance channel by channel rather than simply saturating the scan, then cleans the album scratches these prints usually carry.
Damage found and treatment applied
Old photographs fail in patterns that conservators can name. Reading the scan against those patterns is what gives the restoration its brief: repair what age actually caused, and invent nothing the evidence does not support.
- Uneven dye fade — the magenta or yellow cast typical of early colour papers.
- Loss of shadow density as the least stable dye layer fails first.
- Colour imbalance between the edges and the centre, where light exposure differed across years on display.
- Adhesive damage along the borders, where album pages attacked the emulsion.
- This is a monochrome record with no colour information. The structural pass is treated as the priority: colour is only assigned after the scan underneath is stable.
The model reads the grey levels of the original scan and assigns period-plausible colour to skin, fabric and sky without repainting detail. Guesses stay conservative where the evidence is ambiguous, so colours are informed suggestions rather than facts — the monochrome original beside this one is the historical record.
What the restoration recovered
- Period-plausible colour for skin, fabrics and backdrop, assigned from the scan's grey levels.
- Tonal depth in the monochrome base, preserved rather than repainted.
- Conservative handling of ambiguous areas — where the evidence is weak, colour stays muted.
The render used the master finish: maximum clarity and print realism, with every repair still grounded in what the scan actually shows.
What the restoration did not do
Honesty about limits is part of the record. For this photograph, the line the restoration would not cross:
Colour is presented as informed interpretation, never as fact: where the greyscale cannot distinguish navy from black or green from brown, the model stays muted rather than guessing boldly. Nothing is added that is not in the scan — no repainted backgrounds, no altered features — and the monochrome original remains beside the result.
About This Restoration
- Mode
- Colorize
- Model
- gpt-image-2
- Restored
Terms used on this page
- Chromogenic print
- A colour print built from cyan, magenta and yellow dyes — the consumer colour print of the post-war decades, prone to uneven fade.
- Dye fade
- The uneven loss of colour density over time; because the three dyes fade at different rates, prints drift toward magenta or yellow.
- Inpainting
- Rebuilding damaged or missing image areas from the surrounding evidence — the digital equivalent of a conservator filling a loss.
Common questions
- Am I looking at the original photograph or an AI result?
- The original scan is untouched; the restored half is generated by the AI model. Nothing is redrawn by hand, the source file is never modified, and the page you are reading shows exactly what the pipeline delivered.
- Can I get this Colorize result for my own photo?
- Yes — upload your scan on the homepage and the same Colorize pipeline runs on it. The first preview is free, and you only pay if you want the full-resolution file.
- How long does a Colorize restoration take?
- Most Colorize jobs finish in under a minute. The result page appears as soon as the model is done, and the before-and-after pair stays in your account.
- How is this different from a hand-restored print?
- A retoucher works by hand for hours and makes hundreds of small judgement calls; the Colorize pass applies the same discipline — conservative reconstruction, no invented detail — in under a minute, and documents its limits on this page. The result is reproducible, and the original scan is never modified.
- Should I still keep the original photograph?
- Always. The restoration is derived from the scan; the original print is the primary record and is irreplaceable. Store it cool, dry and dark, and handle it by the edges.
- Is the result good enough to print?
- Yes — the delivered file is full resolution and suited to reprinting at the original photo's size or larger. Most families order one print for the wall and keep the digital master as the archive copy.
- What if my photo is damaged far worse than this one?
- Upload it anyway. The Colorize pass reports what it could and could not recover, and severe losses are reconstructed conservatively — a slightly soft area beats an invented one.
Caring for the original
Whatever the scanner captured, the original print keeps aging. The guidance for family collections is consistent across the preservation institutions:
- Store prints cool, dry and dark — a lived-in closet beats an attic or basement, and stability matters more than any exact number.
- Use acid-free sleeves and boxes, and never force apart prints that have stuck together.
- Scan at 600 dpi in colour, even for black-and-white prints — colour mode preserves the tonal evidence of age.
- Keep the lossless master (TIFF) and a working JPEG, with backups in two places.
- Early colour prints fade in the dark as well as in light — dark, cool storage slows the process but never stops it.
The preservation guidance on this page is checked against public institutions. These are the primary sources we cite across the site and in our guides.
Restore Your Own Old Photo
Upload a photo and get a free preview before you pay anything.
Restore a PhotoMore Restored Photos


Sources & further reading
The preservation guidance on this page is checked against public institutions. These are the primary sources we cite across the site and in our guides.